How to correctly balance a double hung sash window
At its most basic, a window should be able to do two things: open to let air in and close to keep out the elements. A surprising number of homeowners live with stiff, rattling sash windows, or even ones that don’t open. The usual suspects behind this problem are the weights. Getting them right is the first step to a smoothly sliding window. Here’s how to get the balance right, saving you time, money and hassle.
Remove the sash windows and then continue with the steps below.
Step one – Remove the weights
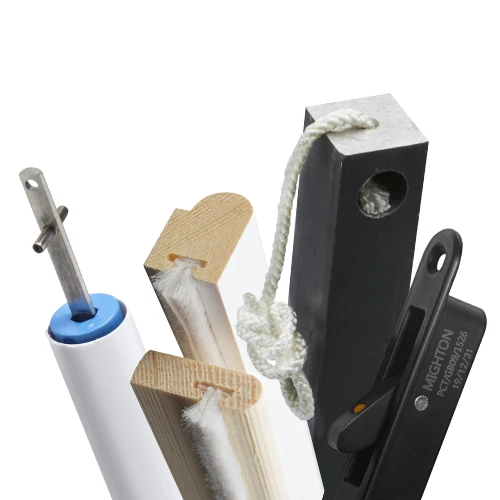
The weights operate in channels inside the frame – the top sash weight channel is the outer one. To remove the sash weights, take out the pocket cover (image 1) and push the “wagtail” (the piece of wood separating the two channels, image 2) to one side. Take hold of the weight and untie the cord so that it passes through the pulley and the sash weight can be removed from the frame (image 3). Repeat this for each weight.
Step two – Weigh the sash window
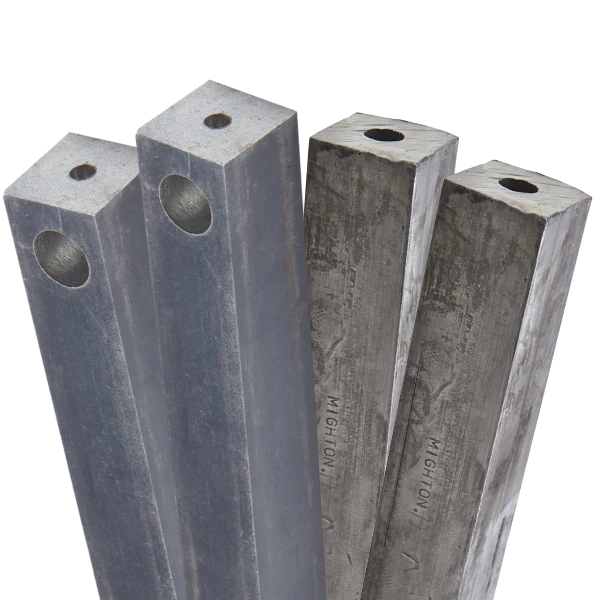
So that the windows operate properly, the top and bottom sashes need to be weighted slightly differently. The weights for the top sash need to be marginally heavier than the window itself so that it doesn’t drop from its raised position. Obviously to use the right amount of weight you need to know how much the window weighs (image 4). Once weighed all you have to do is add one pound onto the total and divide by two and this is how much weight goes on either side of the window. For example if the window weighs 43 pounds the result would be 43 + 1 = 44/2 = 22 pounds on each side of the window. For the bottom sash the maths is very similar. The difference is that you subtract one pound from the weight of the window and, again, divide by two. This will underweight the bottom sash and stop it rising when moved from its closed position. If you don’t have scales to hand, supply us with the type of window material and the dimensions and we’ll do that for you and even deliver the right weights the next day if ordered before 4.30pm. But it is always a good idea to carry a selection of makeweights to prevent unnecessarily leaving the room exposed to the elements while waiting for weights to be delivered.
Step three – Replace the weights
A piece of string, weighted with a small piece of lead and usually called a “mouse”, is tied to the end of the new sash cord. Thread this through the appropriate pulley (image 5). Move the wagtail to one side and reach in and fish around in the channel for the mouse. When retrieved, the mouse can be pulled through so that enough cord has passed through the channel for the new weights to added. Before adding the new weights to the cord tie a knot so that it doesn’t get pulled through the sash pulley once the new weights have been put into the channel (image 6). The weights can then be added to the cord (image 7) and returned to the channel. Repeat for all the weights.
Step four – Reattach the window
Now that the correct weights have been replaced all that needs to be done is to return the window to the frame. Although sometimes tricky, using our Grabba (image 8) all that needs to be done is to thread the end of the cord through the Grabba and its teeth will hold the cord in place, meaning that pins won’t need to be used to hold the cord in place if the window weighs less than 40 pounds. If a Grabba isn’t being used then it’s advisable to cord-up with at least two people as the cord will need pinning into the window.
An easy balancing act
Sash windows only need a few components to work smoothly. The most crucial are the weights. Incorrectly balanced windows are at best awkward and difficult to use, at worst they are dangerous – if a 40 pound top sash window drops from its closed position it causes a lot of damage. Following the steps above turns it into a quick, safe and relatively easy maintenance task.